
Recipe: Cereal braided bread (1 small loaf)
Ingredients:
- 1/2 cup uncooked whole multigrain cereal
- 1 cup 1% milk
- 1 cup KAF bread flour
- 1+1/2 tp active dry yeast
- 1 tp salt
- 1 TB olive oil
- 1+1/2 TB honey
- 2 TB flaxseeds
- 2-3 TB white flour for dusting
Procedure:
1. Cook cereal in milk until soft. Cover and allow to cool.
2. Add active dry yeast into the cereal. Allow 10-15 minutes of proofing time. Then add honey to the mixture.
3. Mix flour and salt in a large bowl. Add cereal into dry ingredients. Mix to form a dough. Adjust hydration accordingly.
4. When hydration level is right, add oil and flaxseeds. Then allow the dough to rest until its volume has doubled.
5. Gently de-gas the dough. Shape dough and allow to rise again. Repeat it once.
6. After dough has risen and de-gased twice, cut dough into 3 equal pieces. Roll each piece into a long rope (about twice the target length of the braid).
7. Line the three ropes in parallel. Braid in one direction. Then braid the opposite direction.
8. Very gently and carefully transfer braided dough to parchment paper. Proof the braided dough in a warm oven for about 20-30 minutes until dough shows significant increase in volume.
9. Preheat oven to 375F. Brush the braided dough with water.
10. Bake on middle rack at 375F uncovered for the first 10 minutes. When the top shows sign of light browning, brush with butter. Then cover top and resume baking until internal temperature reaches 190F.
Results:
11:54am, whole grain cereal very well cooked in ample milk and cooled:

11:54am, mixture of flour and salt:

12:05pm, yeast and honey added to cooked cereal:

12:19pm, wet ingredients added to dry ingredients:

12:21pm, mixing the ingredients:

12:23pm, ingredients gradually gluing together as moisture is squeezed out of the cereal:

12:25pm, initial dough:

12:30pm, dough done and allowed to rest a few minutes:

12:44pm, oil and flaxseeds added to dough:

12:45pm, texture of dough with strong gluten formation:

12:49pm, dough punched down:

1:34pm, dough rested 50 minutes:

1:36pm, texture of dough after rest:

1:43pm, dough punched down and allowed to rest again:

4:23pm, (since I need to go out for a few hours to have some fun time) dough rested 3 hours in fridge, expanded and punched down again:

4:24pm, dough cut into 3 pieces:

4:35pm, dough rolled into 3 long ropes, about 2 times the target length of the braid:

4:36pm, braiding lower half of the dough:

4:37pm, braided dough:

4:42pm, braided dough allowed to rest in warm oven:

5:06pm, braided dough rested 20 minutes:

5:06pm, dough ready to bake:

5:06pm, dough started baking uncovered at 375F:

5:18pm, loaf baked 12 minutes, top showing a faint sign of browning:

5:18pm, loaf rubbed with butter:

5:19pm, loaf with a glossy top after buttering:

5:20pm, loaf resuming baking, covered at 375F:

5:53pm, loaf baked about 45 minutes:

5:54pm, loaf's internal temperature only 160F:

5:54pm, thermometer coming out sticky:

5:55pm, loaf placed on a drip pan to resume baking so that the bottom may not be overcooked:

6:24pm, loaf baked 1 hour and 20 minutes, internal temperature just reaching 180F:

6:24pm, thermometer still coming out sticky:

6:25pm, bottom of the loaf after baking 1 hour and 20 minutes:

6:38pm, loaf continued baking until 1 hour and 35 minutes, internal temperature exceeded 190F, but thermometer still coming out sticky; enough baking done:

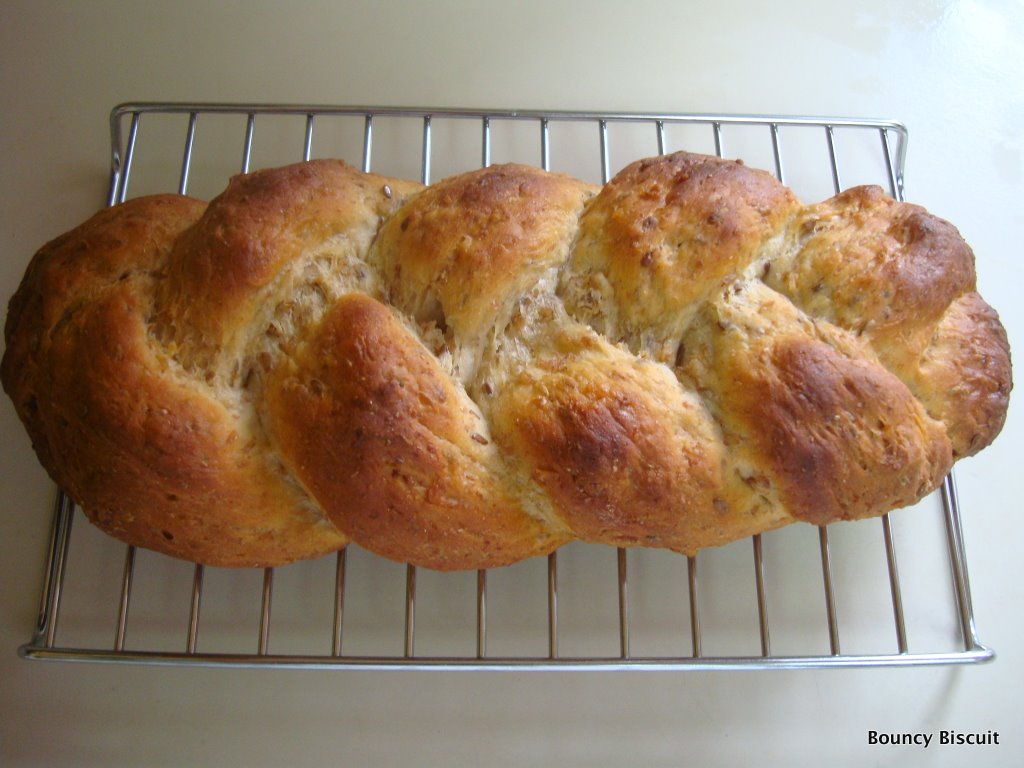
6:40pm, loaf's top:
6:40pm, loaf's bottom:

6:40pm, loaf's side:

6:40pm, loaf's heel:

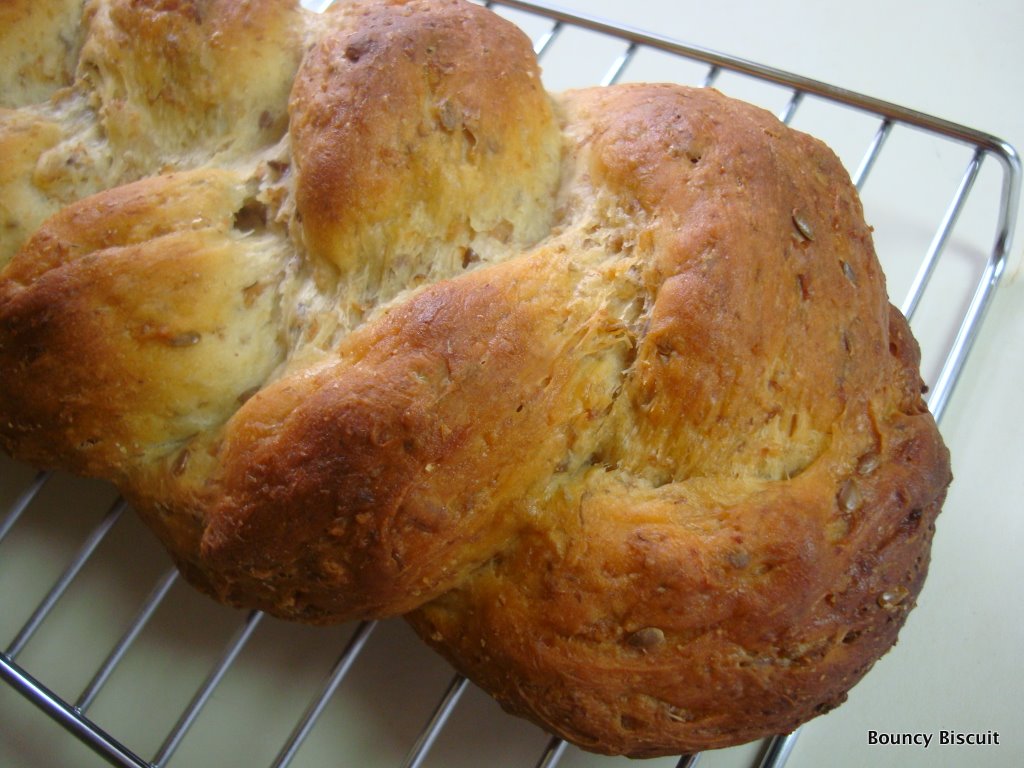
6:40pm, loaf's details:

6:41pm, loaf's braid head:

6:41pm, loaf's braid end:
7:24pm, loaf cooled 40 minutes, to be torn apart to eat:

7:25pm, loaf's interior:

9:24pm, loaf's crumb:


Observation:
1. This loaf has relatively high hydration. However, the dough holds together pretty well. I think this is the water roux effect of cooking cereal.
2. With KAF bread flour, it is possible to proof the braided dough until it doubles in volume, but it may also go out of shape. So I choose not to proof it for so long.
3. The hydration level of this loaf is rather high. This may explain why the interior has some difficulty cooking. It takes 1 hour and 38 minutes. Normally, a medium loaf (double the amount of starch) takes only 1 hour.
4. The stickiness of the dough helps holding the braid in place. The head and the tail of the braid does not shrink back. Instead, all the three ropes stick well together at both ends.
5. The crumb of this loaf is excellent in taste and texture. It goes very well with savory dishes. The softness of the crumb comes from the milk and the oat.
6. The crust of the loaf is just nice, not too thick. It is hard, but not too hard.
This loaf is meant to be torn apart to eat at the dinner table. Today, my hubby and I enjoy tearing this loaf apart and munching it away with the gravy of savory dishes. My hubby has excellent palate. He is able to tell the taste of oat in this bread. That's impressive. I leave the loaf in plastic bag on the counter overnight. The next day, I bake it at 350F for about 15 minutes to refresh it at dinner time. Once re-baked, the crumb becomes hard again, and the crumb melts like cream. It's an incredible loaf. My husband really loves it.
I am very pleased by the result of this experiment. Things to observe next time:
1. The hydration of the loaf affect the length of baking time. However, a moist dough seems to hold the shape of the braid better.
2. Browning of the braid needs to be carefully controlled. I apply butter early and cover the loaf early. Then, when I realize that the loaf needs extra time, I put the loaf on a rake of a drip pan to continue baking. This is to prevent the bottom from getting burnt through direct contact with a pan.
No comments:
Post a Comment