
Recipe: whole wheat loaf with delayed fermentation (make 2 mini-loaves)
Ingredients:
Pre-ferment
- 2 cup whole wheat flour (ground from wheat berries)
- 2 TB buttermilk powder
- 3 TB non-fat milk powder
- 1 tp kosher salt
- 1 TB flaxseeds
- 1 TB oat brans
- 1/2 tp active dry yeast
- a little less than 1 cup of warm water
Final dough
- 1 TB honey
- 1 TB olive oil
- water
Procedure:
Day 1
1. Hydrate the yeast in 2 TB warm water.
2. Mix whole wheat flour, buttermilk powder, milk powder, salt, flaxseeds, oat brans in a bowl. Then add in the hydrated yeast. Then gradually add about 3/4 cup of water while mixing the dry ingredients together.
3. At first, the ingredients will seem to need plenty of water. However, the initial mix will gradually moistens, taking 1-2 minutes. So, resist from adding more water while mixing the dough. This keeps the dough strong.
4. Mix the dough intermittently (knead a few times, then leave it to rest for a minute), allowing it time to autolyze.
5. When the dough has become smooth and moist, set in the bowl and cover with wrap. Allow to rest for 2 days.
Day 2
Punch down the dough once. Allow to chill again for half a day. Then rub in 1 TB honey and 1 TB oil. After the final dough is prepared, allow to chill for another night.
Day 3
1. Take dough out and partition into two pieces. Dust with a little flour to ease handling. Then shape into two rolls.
2. Generously grease two mini loaf pans. Allow the dough to proof in each pan. Cover with plastic to prevent drying.
3. When each piece of dough has doubled in volume, pre-heat oven to 450F. Place both pans into the oven. Adjust oven temperature to 400F. Bake for 10 minutes. Cover top with foil if the top is already well browned. Allow to bake for 3-5 more minutes.
4. Unload the pans and allow the mini-loaves to cool for 20-30 minutes before slicing and serving.
Results:
Day 1, 9:07pm, look of the initial mix:

Day 1, 9:10pm, initial mix gradually hydrating without any need for more water:

Day 1, 9:12pm, look of the initial dough surface when pinched by a finger:
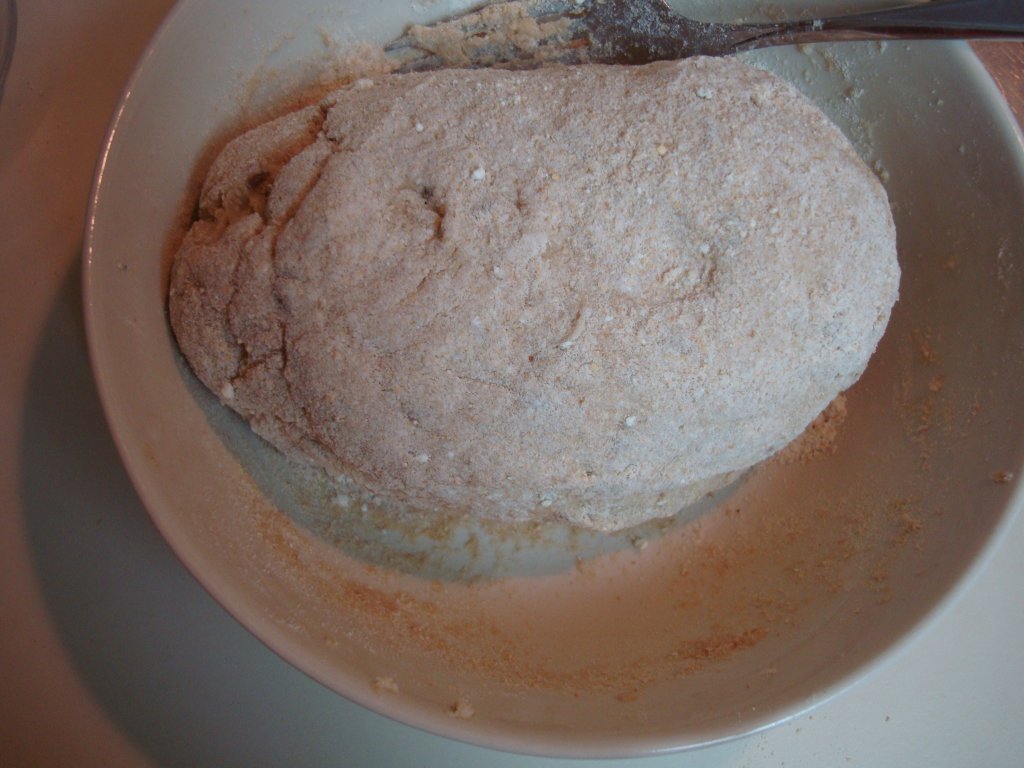
Day 1, 9:17pm, observe the dryness of the initial dough, making it easy to knead with hands:

Day 1, 9:26pm, dough having moistened after 10 minutes of intermittent kneading and resting:

Day 1, 9:27pm, dough pressed down to fit in the bowl and ready to be chilled:

Day 2
8:03am, dough's size after chilling overnight:

8:03am, dough's height after chilling overnight:

8:04am, dough's texture:

8:07am, dough punched down and ready to chill again:

Day 2, 3:35pm, rubbing honey and oil into dough:

Day 2, 3:40pm, texture of final dough after rubbing in honey and oil:

Day 2, 3:42pm, final dough preparing to chill overnight:

Day 3
Day 3, 7:50am, final dough after being chilled overnight:

Day 3, 7:50am, final dough being handled and shaped; observe how it holds its shape and is easily cut by a sharp knife:

Day 3, 8:00am, final dough shaped, dusted with flour and preparing to proof at room temperature, covered with plastic:

Day 3, 3:42pm, final dough proofed 7+1/2 hours:

Day 3, 3:43pm, heights of each piece of dough; observe that one loaf has deflated a little. Perhaps it's been proofed a little too long.


Day 3, 4:08pm, mini-loaves baked 10-15 minutes:

Day 3, 4:10pm, mini-loaf's bottom:

Day 3, 4:10pm, mini-loaf's side:

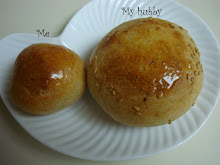
Day 3, 4:28pm, mini-loaf sliced:

Day 3, 4:29pm, crumb of the center of the mini-loaf:

Day 3, 4:44pm, comparison between this mini-loaf with a slice from the 2:1 whole wheat bread from my 24th experiment .

Observations:
1. While making the pre-ferment, I am happily surprised by the gradual hydration of the dough even with a small amount of water.
2. In this experiment, I keep the pre-ferment rather dry, so that it holds its shape during pre-fermentation.
3. On the second day, the dough has no doubt expanded because of the heat of kneading. But its hydration level is low. So it is rather hard.
4. This dough is very easy to shape and cut when I handle it on the 3rd day.
5. It takes 7 hours for the dough to double its volume. The proofing time seems to be a little longer than ideal. One piece of dough has deflated a little when I remove the plastic cover because some huge bubble has developed and bursted.
6. On the whole, the crumb of the whole wheat loaf is denser than the two-third whole wheat breads that I have been baking so far.
7. This loaf has a very tender flavor because I use the same amount of milk, honey and oil as a full loaf, but has reduced the amount of flour from 3 cups to 2 cups.
This experiment is surely a breakthrough to my whole wheat baking experiment! Next time I'll try to have a bit more yeast.
No comments:
Post a Comment