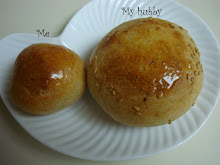
This is such an impressive loaf---a loaf of comfort and joy.

Recipe: Rustic wheat bread (make 1 round loaf)
Ingredients:
- 2 cups KAF whole wheat flour
- 1 cup KAF bread flour
- 1/2 tp active dry yeast
- 4 TB buttermilk powder
- 1+1/4 tp kosher salt
- 1 TB honey
- 2 TB olive oil
- 1+1/2 cup warm water
Procedure:
Day 1
1. Sieve flours, buttermilk powder, salt together.
2. Proof yeast in 1+1/2 cup warm water with 1 TB of honey.
3. Mix dry ingredients with proofed yeast and water. Gradually form a dough. Knead until uniformly smooth.
4. Add about 1 TB oil. Knead dough until smooth. Add extra water to make a soft dough.
5. Grease a medium bowl. Rub oil on dough. Allow to proof overnight in fridge.
Day 2
Knead dough once. Then return to fridge.
Day 3
1. Grease a pan generously with oil. Dust bottom of pan with rye flour.
2. Rub rye flour on dough. Flatten and place on pan. Cover with plastic wrap and proof for a few hours, initially without heat. Then, about 2-3 hours before baking, allow dough to sit on the heating element of stove top and lowest setting.
3. When dough has at least doubled, preheat oven to 375F. Bake at 375F for about 30 minutes.
Results:
Day 1, 7:46pm, all ingredients:

Day 1, 8:30pm, dry ingredients sieved, wet ingredients proofed:

Day 1, 9:02pm, ingredients mixed for 30 minutes to form a lean dough before adding oil:

Day 1, 9:17pm, dough after another 15 minutes of kneading and adding water to increase hydration:

Day 1, 9:25pm, dough oiled, and ready to chill:

Day 1, 9:25pm, dough's height before chilling:

Day 2, 11:04am, dough chilled overnight:

Day 2, 11:04am, dough's height after chilling overnight:

Day 2, 11:05am, dough's texture:

Day 2, 11:05am, dough punched down and reshaped before returning to fridge:

Day 3, 8:01am, dough chilled for 2 days, no significant change in volume:

Day 3, 8:01am, dough's height:

Day 3, 8:46am, dough dusted with rye flour and placed on greased pan to proof in cool kitchen:

Day 3, 12:07pm, dough proofed 3 hours without heat:

Day 3, 12:07pm, dough's height after proofing 3 hours without heat:

Day 3, 1:20pm, dough on very mildly warm stove for 1 hour:

Day 3, 1:20pm, dough's height:

Day 3, 2:47pm, dough in mild warmth for 2 hours:

Day 3, 2:27pm, dough's height:

Day 3, 3:28pm, dough in mild warmth for 3 hours:

Day 3, 3:28pm, dough's height:

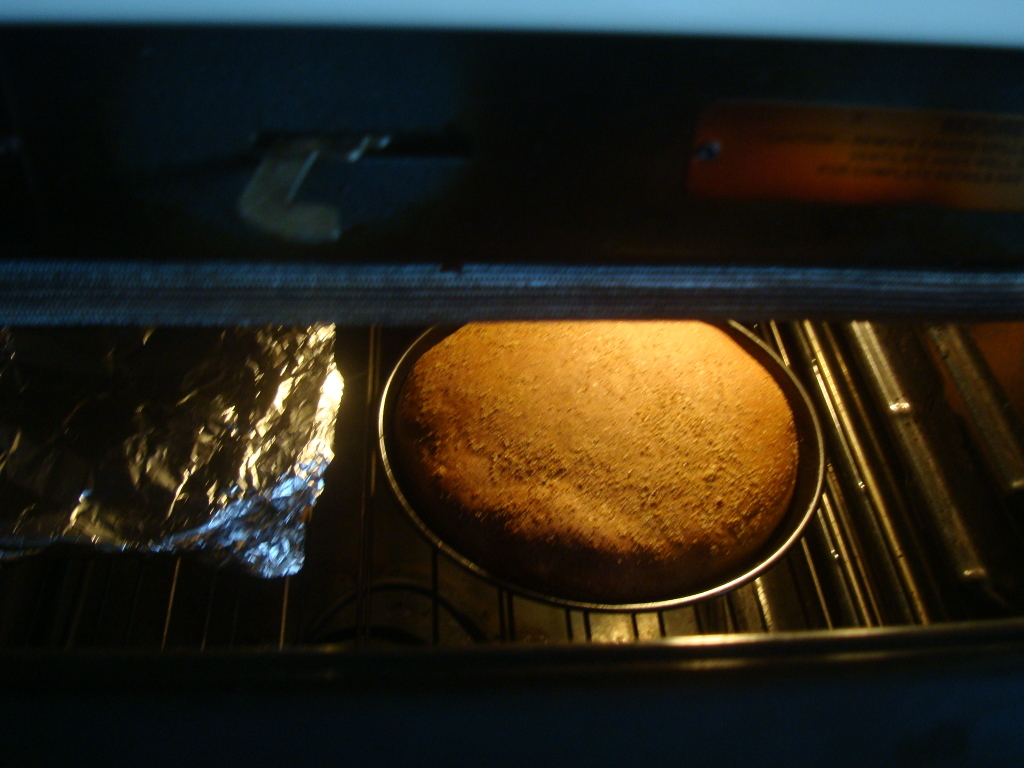
Day 3, 3:29pm, baking started at 375F:

Day 3, 3:57pm, taked 28 minutes at 375F:
Day 3, 4:01pm, internal temperature way above 190F:

Day 3, 4:01pm, thermometer coming out clean:

Day 3, 4:02pm, loaf's height:

Day 3, 4:03pm, loaf's top:

Day 3, 4:06pm, loaf's bottom:

Day 3, 4:07pm, loaf's side:

Day 3, 4:17pm, hole:

Day 3, 4:17pm, loaf's top after 15 minutes:

Day 3, 7:21pm, loaf after cooling 3 hours, no shrinkage at all:

Day 3, 7:22pm, loaf cut across the center:

Day 3, 7:23pm, interiors of the loaf:


Day 3, 7:25pm, tearing apart the hole:

Observation:
1. Using the pie pan to proof the dough, I find that proofing the dough on the large stove at the lowest setting (between low and off) provides a very good warming effect. Dough grows really rapidly at this warm temperature. The heating element does not burn the hand, it is just warm and comfortable.
2. This loaf may be done in less than 30 minutes. Next time, for dough of same hydration, and baked in a round pan, baking may be done at 375F for just 25 minutes.
3. The impressive thing about this loaf is that the crust does not shrink after cooling. The crust is hard enough to hold the shape of the loaf.
4. This loaf tastes wonderful! Not chewy, just nice. The buttermilk is not distinctive.
No comments:
Post a Comment